Learn how to make a cute and charming DIY Christmas Village from 2x4s and an easy-to-use stencil kit!
At this point in time, I think I’ve made nearly everything for Christmas decorating out of scrap wood! Except for one thing.
A DIY Christmas Village has long been on my list.
Imagine if you will, charming Christmas village houses made from scrap wood but in a way that was easy…
The wooden houses could fit in any small space, such as line a window sill, sit on top of a Christmas mantel, be implemented into wreaths, or tucked in most anywhere you wish some extra Christmas decor! Not to mention, easy to store too!
View this Christmas kitchen HERE
It all started with last year’s Christmas kitchen tour HERE. I had one single little reclaimed wood house on the windowsill when I was asked how I made it…
Hmm! I have plenty of wooden Christmas tree tutorials, but not for a house! So right then I vowed to do up an entire village this Christmas with a tutorial.
But how would I detail the houses? I personally prefer not to rely on hand painted detail as my hands aren’t that steady…
Aha! Easy fix!
View Christmas Village stencil HERE
Christmas Village stencil
So I created a Christmas Village stencil kit, so you could easily detail stenciled OR wooden houses to create a Christmas village with your own twist!
And just how fun is that?!
Here’s the best part! All the stencil house images and house accessories are designed to work with 2×4 measurements, since that’s a standard wood piece anyone can get ahold of.
However of course most any cut scrap wood can work as well if it’s similar in size.
And I think the end results speak for themselves! This little village was such a blast to make that I want to make more in different styles as well for even more unique holiday decor!
Ready to try a DIY mini Christmas Village of your own? Read on for the simple steps to this easy tutorial, also perfect for a beginner woodworker.
DIY Christmas village with wood and stencils
Supplies you’ll need:
Christmas Village stencil from HERE
Stencil brush (I love using dome-tipped stencil brushes like THESE)
Fusion Mineral Paint’s Raw Silk
Cordless drill (Makita is my choice)
Cutting the wood houses
1. Using a miter saw, cut a 2×4 up into houses of different heights and random rooftops.
My tallest house measures 7.5″h.
Most of my roof shapes were cut at a 45 degree angle.
3. Run a sanding sponge along all the fresh cut edges.
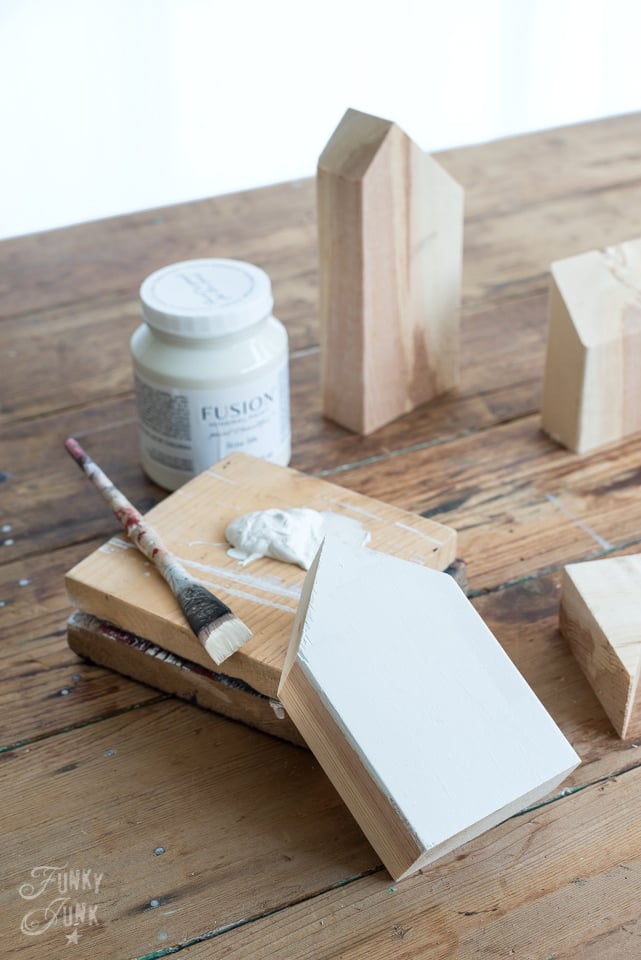
Painting the houses
4. Using a wider artist’s brush, paint the house front, back and sides with a paint color of choice.
I had been recently inspired by Homeroad’s little white wooden houses in THIS post, and since I love to decorate in neutrals for Christmas, white it was!
But the sky’s the limit with colors, or even wood tone stains! I vote to experiment and use tones you wish to decorate with for Christmas or in colors where you can leave your little wooden houses up all year around if desired.
My paint of choice:
Raw Silk by Fusion MIneral Paint
Get 10% off all Fusion Mineral Paint HERE if shopping online!
View Christmas Village stencil HERE
Stenciling the house details
Here comes the fun part! Designing your DIY Christmas Village is so fun, thanks to all the choices on the stencil!
Note: grey above is a vinyl sample.
Measure the house middle
5. Pencil-in the center of your house along the top.
How to stencil the windows
6. Stencil the windows in a dark tone. I used Fusion Mineral Paint’s Ash.
- Mark the center of your house
- Choose a window style
- Center the chosen windows with your mark, then slide into position
- Stencil windows
- Make sure to leave space for a door
How to stencil for best results:
- Load the stencil brush with paint.
- Remove most paint with a rag until brush feels dry.
- Tap or swirl brush through stencil for desired effect.
Learn more tips on how to stencil with exceptional results HERE
Video: How to stencil basics
[adthrive-in-post-video-player video-id=”YwkWUd70″ upload-date=”2019-12-31T21:14:26.000Z” name=”How to Buffalo Check” description=”Learn how to stencil with Buffalo Check to achieve exceptional results!” player-type=”default” override-embed=”default”]
Learn loads of tips on how to stencil from the above short video demonstrating a Buffalo Check pattern!
Stenciling the door
7. Stencil a door where desired.
You can choose to center the door, move it to the left or right side, or even stencil the side of the 2×4 if desired. There is room!
Adding a doorknob
8. Once dry, stencil on a doorknob in the house tone like I did, or use a contrasting colour.
Aren’t they looking so cute?!
Painting the house roofs
9. Paint the house roofs a contrasting colour.
I used Fusion Mineral Paint’s Ash so they matched the windows and doors.
Adding chimneys with screws
10. Add chimneys using nails, screws or bolts.
Various screws were used to create the chimneys, to keep it super easy! Consider screwing them in different directions, heights, etc. to mix it up.
11. Distress the houses with sandpaper, stain or antiquing wax if desired.
I decided to leave my DIY Christmas village bright white this round, however I’d like to make another with more of a rustic finish next!
So, ready to see how adorable this little DIY Christmas Village turned out?!
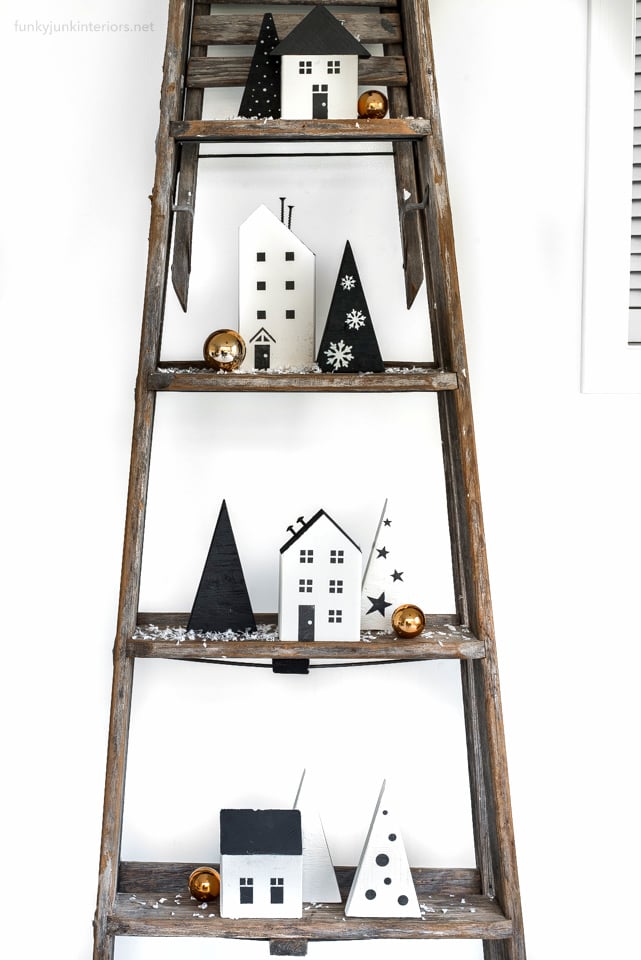
The finished DIY Christmas Village
I’m just in love with how cute this village turned out! It looks adorable lined up on a little black shelf with faux snow and shiny copper ornaments for a pop of colour.
By the way, the cute wooden pencil Christmas trees (stencil HERE) will have a tutorial all on their own coming soon, so stay tuned!
And here’s a way to display your DIY Christmas village vertically, by using a step ladder!
This ladder use to be my ladder nightstand in my bedroom you can see HERE! It recently came down so now I’m glad I left it intact so I can use the ladder for Christmas in this way too!
These shots show the chimney positionings. As you can see, anything really goes!
And it was so fun to coordinate the black and white decorated Christmas pencil trees with the houses as well!
Other decorating accessories to consider
Consider checking Amazon, Dollar Tree, a craft store, or local thrift store for additional craft supplies:
- Add white glitter to the houses
- Sprinkle fake snow around the bases
- Mix in bottle brush trees
- String fairy lights on sticks to resemble outdoor lights
- Hang miniature garland from the trees
- Drill holes for candle cup inserts, then add candles!
- Locate some mini Christmas wreaths to hang near the house peaks
- Choose a stone spray paint for texture
Creative Christmas Village display ideas
- Christmas mantel
- Table centerpiece
- Along window sills
- On a front porch
- Place on a serving tray or lazy susan
- Line a bookshelf
- Hang as Christmas tree ornaments
As you can see, the sky’s the limit on how to design a DIY Christmas Village and how to display it. I personally can’t wait to move this ladder into a prime spot this Christmas season because I think this little wooden DIY Christmas Village is perfect just the way it is!
Who knows… maybe rather than the standard gingerbread houses, a DIY wooden Christmas Village could become a new family tradition each holiday season!
How would you display this little wooden house Christmas Village in your home? Think you’ll make one too?
View Christmas Village stencil HERE
Check out Pencil Christmas Trees stencil HERE
DIY Christmas village with wood and stencils
Learn how to make a cute and charming DIY Christmas Village from 2x4s and an easy-to-use stencil kit!
- Miter saw
- Cordless drill
- Christmas Village stencil
- 2×4 boards
- Fusion Mineral Paint in Ash
- Fusion Mineral Paint in Raw Silk
- dome-tipped stencil brush
- sanding sponge
- wider artist's brush
-
Cut 2x4s to the desired house lengths and roof shapes.
-
Lightly sand the cut edges with a sanding sponge.
-
Paint the houses on all sides.
-
Stencil window and door details where desired.
-
Paint the house roofs in a contrasting colour.
-
Insert various screws for chimneys.
-
Consider arranging with faux snow and pretty copper ornaments for a festive glow!
Other unique wooden Christmas decorations:
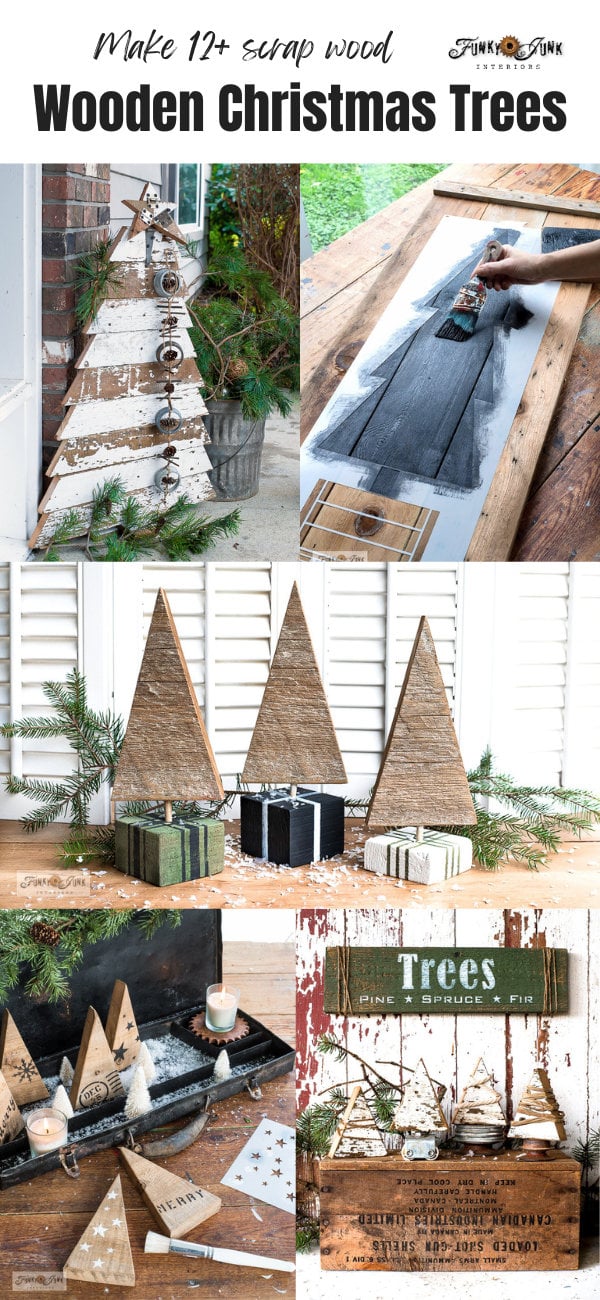
12+ scrap wood Christmas trees to make
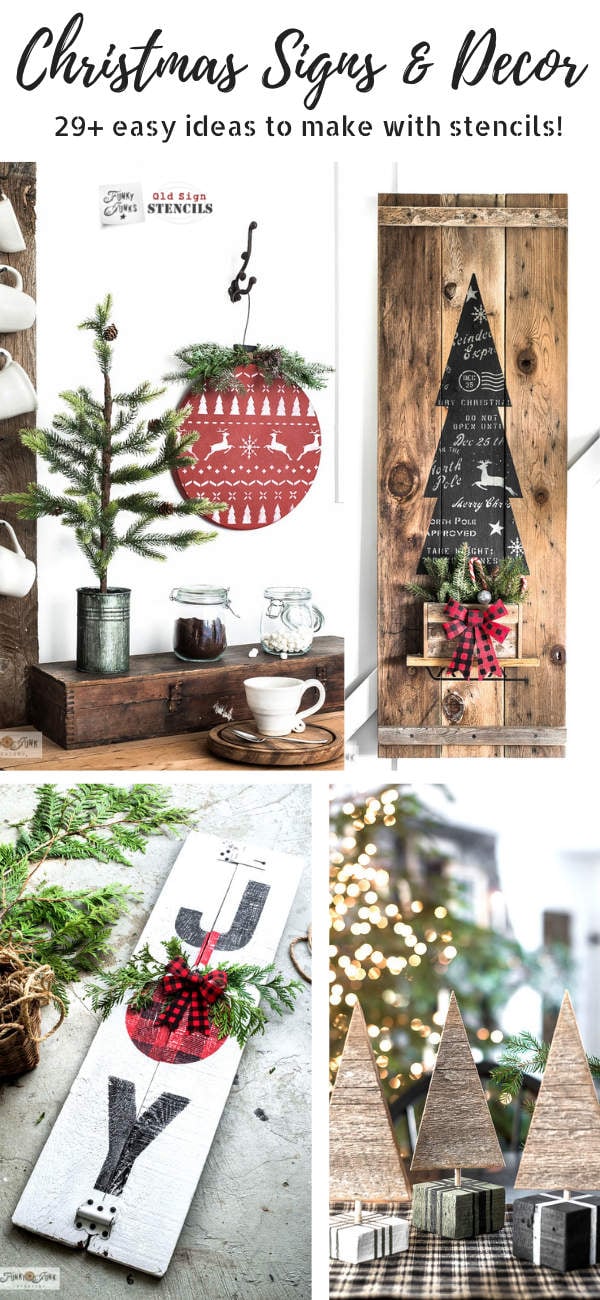
29+ Christmas signs and decor to make with scrap wood and stencils
Visit my cabin-themed Christmas mantel and Christmas wood tree kitchen
Visit my entire unique Christmas projects collection from one page HERE
View Comments (6)
I love, love, love them Donna and I can't wait to get my stencils! My chop saw is broken so I need to find another way to cut the wood!
How cute! I'm in love with your village too!
These are adorable!
Really cute. I wonder if our local builder supply store might have some scrap cuts for free that those of us who live in apartments and don't have saws might use? Might have to check that out.
TDC. Too darn cute!
The little village is beyond adorable, Donna. I've made quite a few for our fairy gardens, and having a stencil like this would have made such a difference. My hand-painting skills on small pieces leave a lot to be desired.