Learn how to build this simple and quick DIY wood Christmas tree skirt with a few planks. It can even be added after your tree is already up!
This Christmas, space for this year’s Christmas tree was going to be a real challenge, thanks to a lack of floor space.
With the recent addition of a whoppin’ 60 gallon fish tank in the living room HERE, I wasn’t even sure we could have a large tree this year!
So I nearly used one of my tabletop trees to put on the kitchen island. Until I had one last brainstorm left. And that would be to place a larger tree beside the kitchen island. I mean, hey, if it meant getting a big Christmas tree in the room, it was worth a shot!
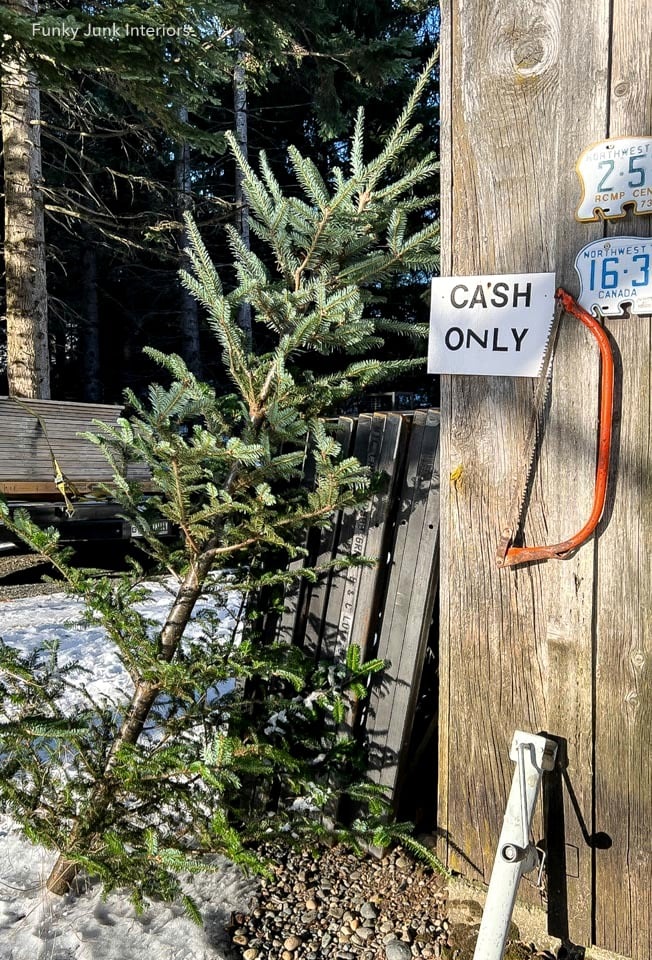
Landing the perfect real tree
So off my son and I went on the hunt for a real Charlie Brown Christmas tree. Because we apparently do love our pine needles so… isn’t it perfect?!
I do love great artificial trees, in which I’ve used several over the years, such as this Ikea rustic tree in a crate tree skirt and the white flocked tree HERE which turned out so pretty.
However, since this particular tree farm was so affordable, we once again went with a real tree, which was a whoppin’ $25.
After getting the tree home, it was time to decide on a theme, along with a new unique Christmas tree skirt idea! The most fun part of all.
I really do enjoy the challenge of giving trees and tree skirts new looks each year. One of my personal favorite tree skirts is this farmhouse tree skirt HERE.
I really liked this sled tree skirt HERE too!
However I ultimately did come up with a new tree theme and tree skirt this year. Yay for new!
So let’s walk through the Christmas tree skirt tutorial first, then I’ll share the decorated Christmas tree situated in its new home!
This post contains some affiliate links in which I earn a small percentage from qualifying purchases at no extra cost to you. Thank-you for helping to support my blog!
DIY wood Christmas tree skirt with village tree
Tree skirt supplies:
4 reclaimed wood boards – mine measure 7.75″ deep x 24″ long.
8 corner trim boards – mine measure 3.5″ deep x 7.75″ long.
Bosch miter saw (read about mine HERE)
Makita cordless drill (read about mine HERE)
Bosch variable speed orbital sander (read about my miter saw HERE)
Screws
Paint or stain (get 10% off HERE) if you wish to treat the boards. I left mine natural wood.
Cutting and joining the boards
1. Select boards that will stand tall enough and long enough to surround the width of your tree stand.
2. Cut 4 main boards to circle around the tree skirt, then sand surfaces and edges with an orbital sander.
- I cut 4 that measure 7.75″ deep x 24″ long
3. Attach the boards together in the corner with screws.
To keep the tree stand perfectly square, stagger the joins in each corner.
Installing the tree skirt after tree is already up
Tip: If your tree is already up, attach the 4th board once positioned around the base of the tree.
Adding corner trim
4. Add wood trim pieces to beef up each corner, attaching with screws.
I don’t mind screws showing since I like added rustic details, however you could screw from the inside of the tree skirt if you’d like to hide yours.
Note: do the same overlapping technique for each side so an entire given side facing you looks the same.
Covering tree stand with burlap
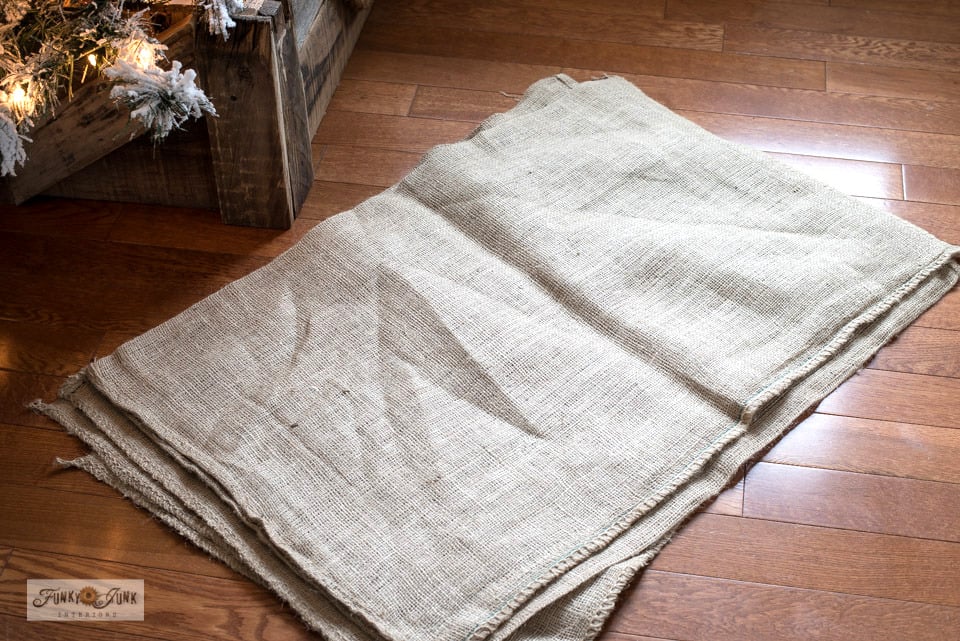
5. To cover the tree stand, use burlap fabric cut-to-size, or several burlap sand bags.
White faux fur, blankets or a white sheet would also be fun to resemble snow.
I first stuffed old towels around the tree stand so the burlap had something to sit on vs. sinking to the floor.
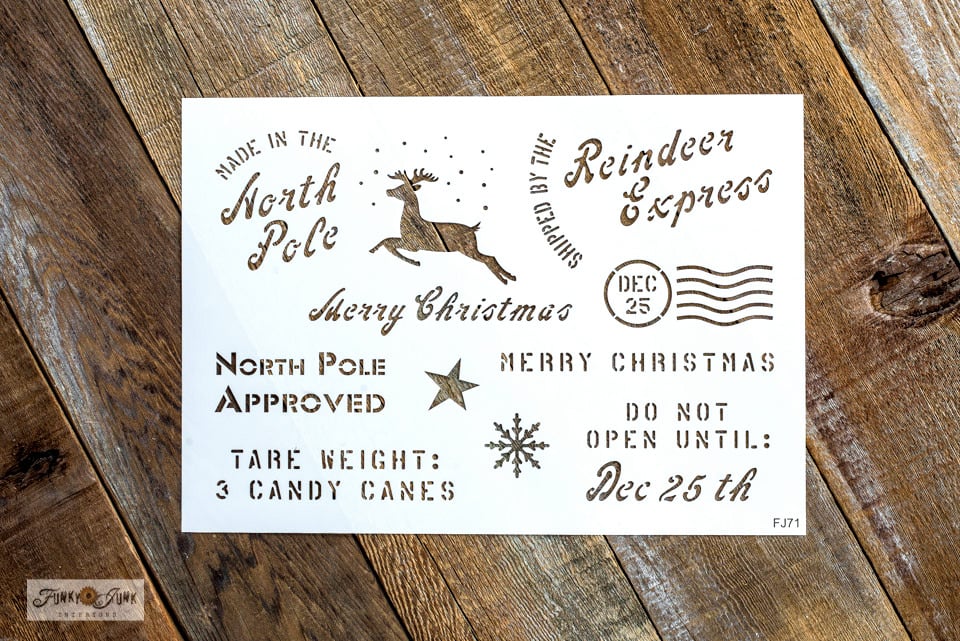
View Christmas Crates stencil HERE
Stenciling the burlap
6. Detail the burlap if desired.
One corner of this burlap sandbag was stenciled with Made in the North Pole from the Christmas Crates stencil for a little extra detail!
Paint used: Fusion Mineral Paint – Ash (get 10% off HERE)
The original tutorial for that farmhouse tree skirt is HERE
How to stencil on burlap:
- Dip stencil brush into paint, then remove most onto a rag until brush feels dry.
- Tap paint through stencil until coverage is complete.
Learn more tips about how to stencil for exceptional results HERE
It’s a simple touch, but was just enough…
… because I wanted all the focus on the tree this round!
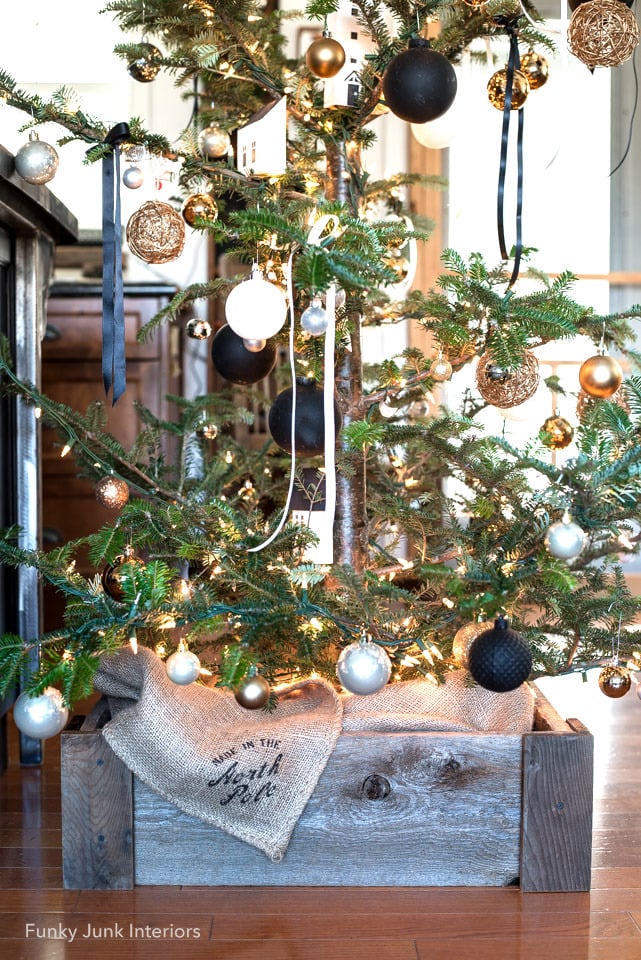
This year’s Christmas tree is a quirky Charlie Brown real tree, with a Christmas Village theme.
I didn’t add any Christmas tree toppers this year because I wanted the village to do all the talking.
View Christmas Village tutorial HERE
Check out how to paint large black ornaments HERE
Christmas tree decor
Wooden houses and trees painted in neutrals from these Christmas Village and Pencil Christmas Trees tutorials were positioned around the trunk of the Christmas tree.
Then the rest of the tree was decorated for the holiday season to match, with copper, gold, white and black painted Christmas ornaments to tie in.
I love how this neutral holiday decor turned out! And of course, most any different themes would work too!
Long 5/8″ silk ribbons tied in a bow in off white and black were randomly positioned to fill in some tree gaps. I really love how the ribbon looks on the tree!
View the Christmas fireplace mantel HERE
The fireplace mantel was tied into the tree with real evergreen branches and neutral stockings.
The end result is a pretty quirky tree that is imperfectly perfect!
I wasn’t sure I would like the placement of the tree, but I ended up loving it because it illuminates every single space you view it from, including the blog office, kitchen and living room.
And we didn’t have to move any furniture out of the room nor lose any seating. So I call that a big win!
As for the tree skirt, modern tree skirts are nice, but I just think reclaimed wood offers one of the the best Christmas tree skirt materials because the design possibilities are limitless!
Now all that’s left to do is flick on the lights and a fun show, and enjoy it…
Merry Christmas indeed!
What theme is your tree this year?
Other types of Christmas tree skirt ideas:
Rustic farmhouse tree skirt with rope handles
White chippy wood crate tree skirt
Ikea tree in an Antiques trunk tree skirt
View all Christmas tree skirts HERE
View Comments (4)
Where there's a will, there's a way! I love your village/Christmas tree Donna!
Super cute and I'm glad you got your big tree! Merry Christmas Donna!
I love that it fit beside your island, you can definitely enjoy it from all angles of your open space! Merry Christmas!
That is my dream tree. Its gorgeous. I could go even sparser (sparse?). I have a fake tree but every year I think real tree this year. This year I priced them and had already decided on which branches to prune out to make the sparsity (sparseness?) I like. Well, no fresh tree this year-trees have quadrupled in price. Crazy! Well.... maybe next year.. a real tree...