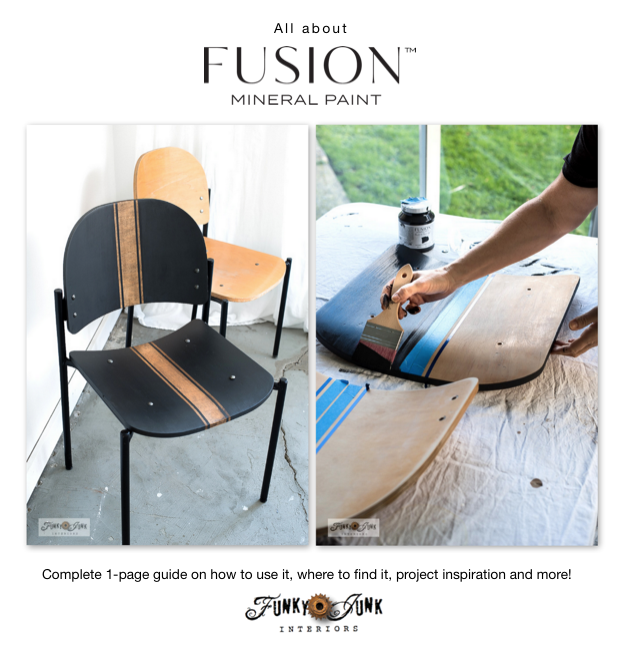
Looking for an exceptional DIY paint that’s easy to use? Learn all about Fusion Mineral Paint! What it is, how to use, project samples, and where to buy to get 10% off!
This post contains affiliate links in which I earn a small percentage of any qualifying purchase you make at no extra cost to you. All opinions are my own.
Get 10% off all Fusion Mineral Paint HERE
If you’ve followed me for any length of time, you’ll already know what a massive fan I am of Fusion Mineral Paint.
Get 10% off ALL Fusion Products HERE or through the red buttons below!
I have used Fusion Mineral Paint and all their products on most of my DIY projects since they started over 10 years ago!
Because it’s quite simply one of the best quality overall acrylic DIY paints out there. It’s very easy to use, has so many beautiful colours to choose from, and the durability is unmatched to anything else I’ve ever come across, whether it’s on floors, walls, furniture or fabric.
Not only am I a continued avid user of this wonderful paint, I now have the ability to offer all Fusion products to you with a 10% discount since I’m an officially approved Fusion influencer!
So, this post was created so you can easily learn why I love Fusion’s products, how to use my favorites, with plenty of inspiring Fusion project tutorials… along with a discount!
Let’s get started…
All about Fusion Mineral Paint
Get 10% off all Fusion Mineral Paint HERE
Fusion Mineral Paint is a professional paint line for the everyday diy’er that is easy to use. All the gorgeous colours are offered in 2 different sizes, with a 2 liter offered for the most mainstream colours.
Busy DIYers will appreciate that this paint requires minimal prep, bonds extremely well, has a built-in primer and top coat, offers an environmentally conscious formulation and is incredibly durable after curing for 30 days.
About Fusion Mineral Paint
So… what’s so special about Fusion Mineral Paint? Here’s a few very good reasons!
- easy one-step application
- high quality DIY paint
- self-levelling
- offers exceptional coverage
- can paint most surfaces (wood, walls, floors, furniture, fabric, metal, etc)
- built-in top coat and primer
- minimal prep work required
- exceptional ease of application
- superior durability
- zero VOC formulation
- good for indoors and outdoors
- quick drying
- many gorgeous colors to choose from
- company offers companion product accents and accessories
Where to get Fusion Mineral Paint
What you can use Fusion on
This is my go-to paint for nearly all my own home decor projects, since it works on so many different surfaces!
- furniture – solid wood or otherwise
- wood
- floors
- walls
- fabric
- metal
- concrete
I also know the Fusion family. The wealth of knowledge they have on all matters of paint and save-the-planet practices choosing only the best available ingredients, gives me confidence that this is a top contender, best-in-class paint. Period.
And of course, the durability speaks for itself.
Get 10% off all Fusion Mineral Paint HERE
How to use Fusion Mineral Paint
1. Prep your projects before painting.
Fusion requires minimal prep thanks to its amazing bonding power, however here are a few must-dos to follow in order to obtain exceptional results:
- Clean your project well before painting, using Fusion’s non-toxic TSP.
- For wood or slick surfaces, scuff-sand to create a ‘tooth’ for paint to stick to.
- If your surface isn’t wood, you may require Ultra Grip which works like a bonding primer.
- Any wood that could bleed tannins should first be primed with BIN Shellac primer.
2. How to paint your project.
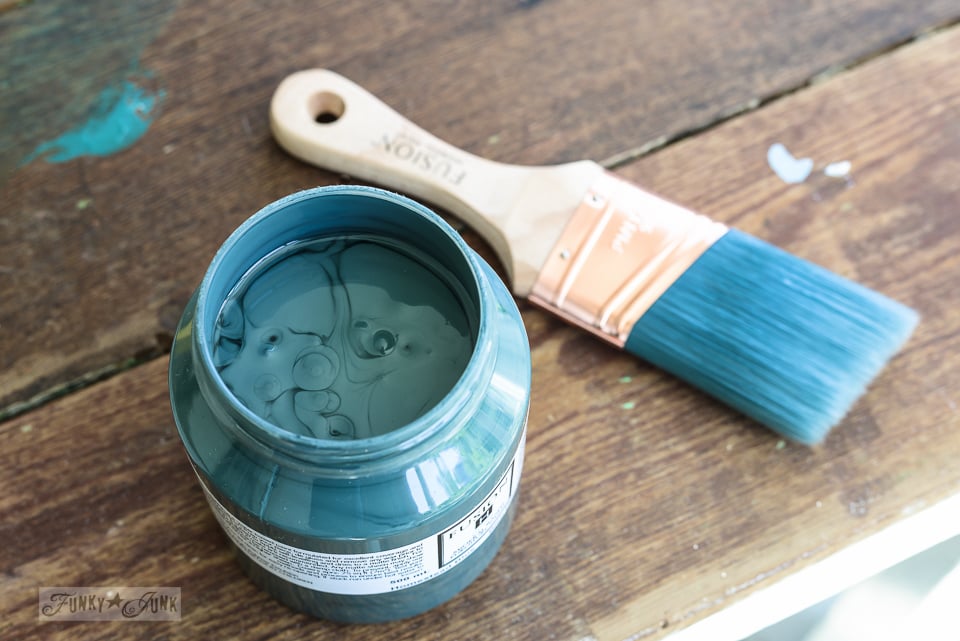
Using Fusion Mineral Paint is so easy! All the colours come premixed, so you simply unscrew the top, pour paint into another container, and start!
However here’s a few tips on getting started, to avoid getting brush strokes on your project.
- Shake or stir the container until mixed.
- Pour paint into a paint tray or other container / surface.
- Add just a little paint to a quality paint brush.
- Paint surface just until covered, but do not over-brush.
- Allow to dry before adding additional coats.
- Lightly sanding between coats with a high grit sandpaper helps to achieve a buttery-smooth finish.
3. Helpful painting tips:
- always use a high quality paint brush for the VERY best results
- clean brush regularly with Fusion’s Brush Cleaner, which cleans and conditions bristles
- lightly mist your project with water if you find the paint drying too quickly
- add Extender to the paint to keep the open-time for painting even longer
View: Grain sack chair tutorial HERE / Stencil HERE
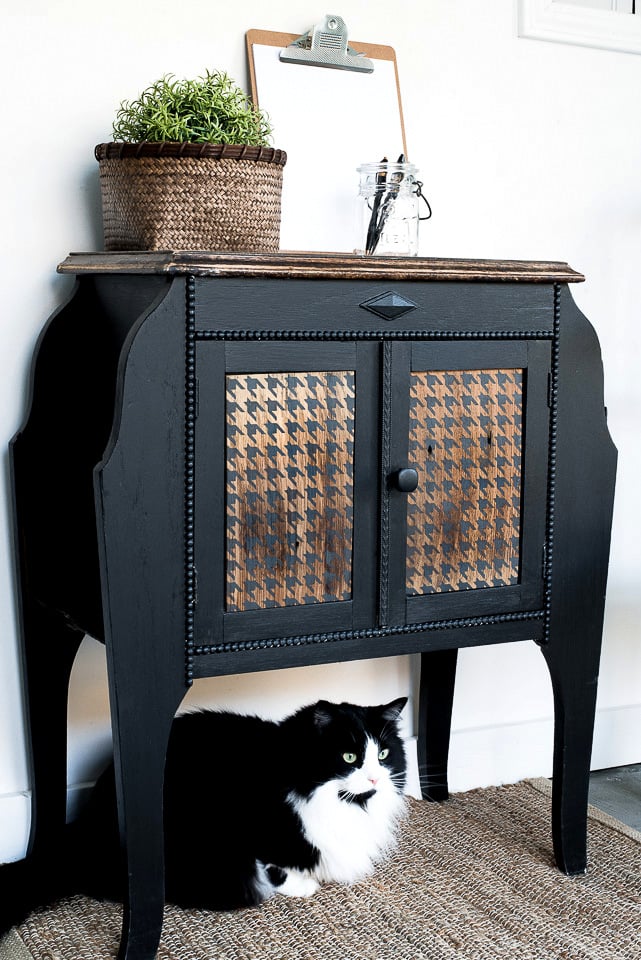
Project samples with Fusion:
I’ve painted or stained nearly all my DIY projects with Fusion Mineral Paint! Here’s a few to check out, with many having their own videos.
Visit all Fusion Paint projects HERE
Get 10% off all Fusion Mineral Paint HERE
10% off all Fusion Prep Products HERE
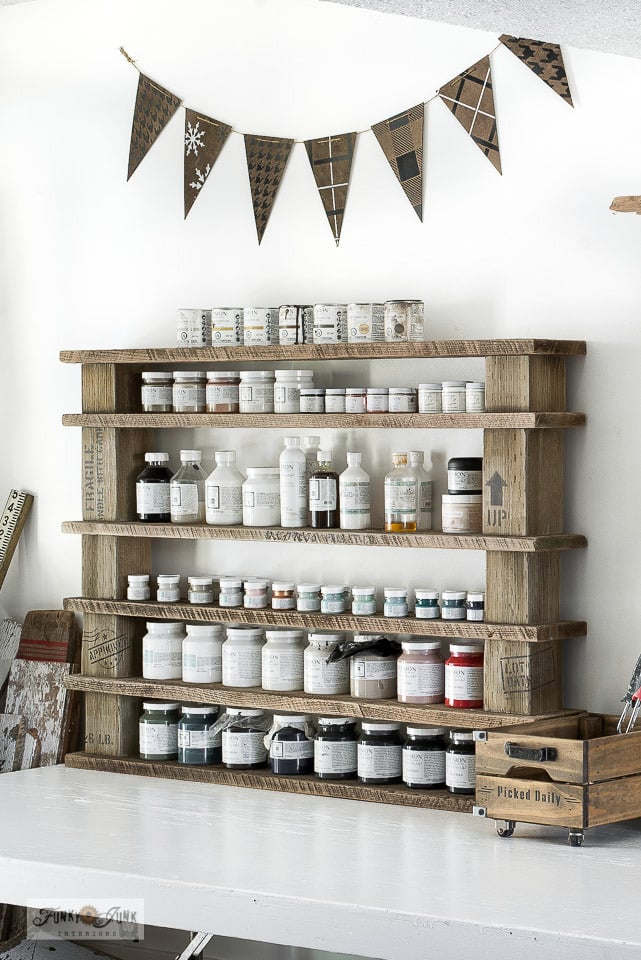
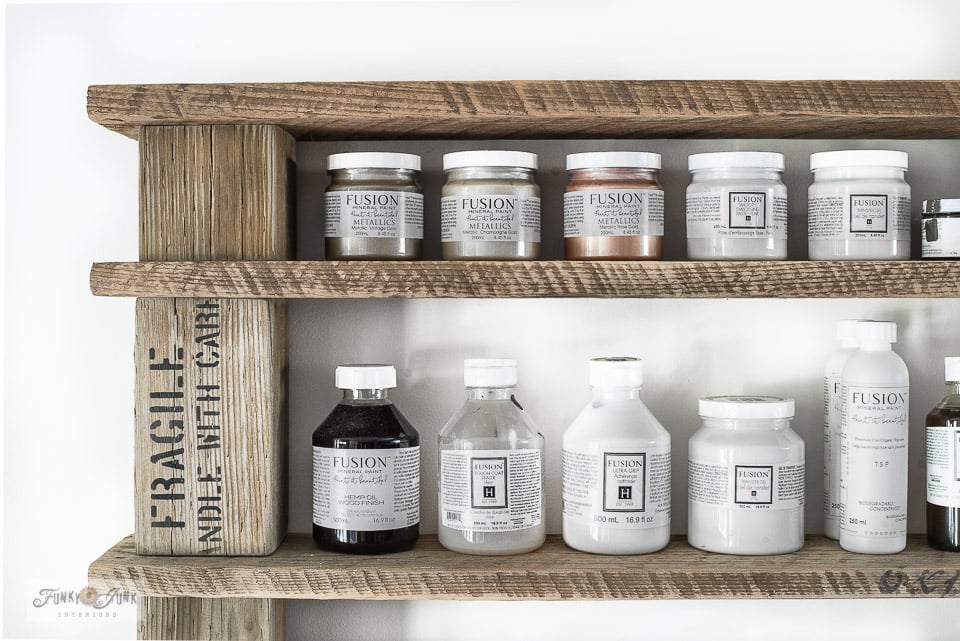
Prep and Finishing products
Fusion MIneral Paint carries a generous array of prep, enhancement and finishing products that compliment their paint.
Here’s a few kits to make preop ordering easier!
Easy prep kits to purchase
Jennylyn’s Essential Paint Tool Kit – 7 different products
- TSP Alternative – like TSP without the toxicity
- Odourless Solvent – like mineral spirits but without the harsh smell
- Brush Soap – cleans AND conditions paint brushes
- 2 Sanding pads
- One Series brush – 2″ Spalter
- Continuous water mister – handy if paint dries too quickly
- Wax block – to aid distressing
* I recommend this kit which provides everything you need to prep and paint.
Prep Kit – 3 products
- Odourless Solvent
- TSP Alternative
- Medium/Fine Angled Sanding Block
- Fusion Colour Card, Milk Paint Card and Product Guide – $10 value
Finishing Kit sampler pack – 4 products
- Clear Tough Coat – Matte and Gloss
- Hemp Oil Wood Finish
- Furniture Wax
- Fusion Colour Card, Milk Paint Card and Product Guide – $10 value
* I recommend this kit so you have 4 topcoat choices!
So let’s cover a few of my fav must-haves and how to use them:
10% off Phosphate-free TSP HERE
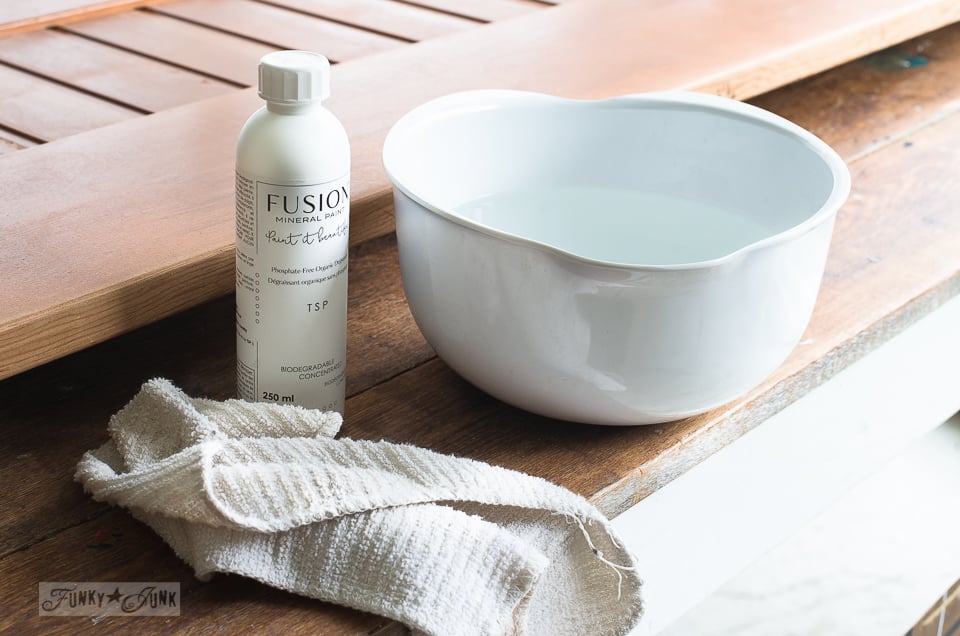
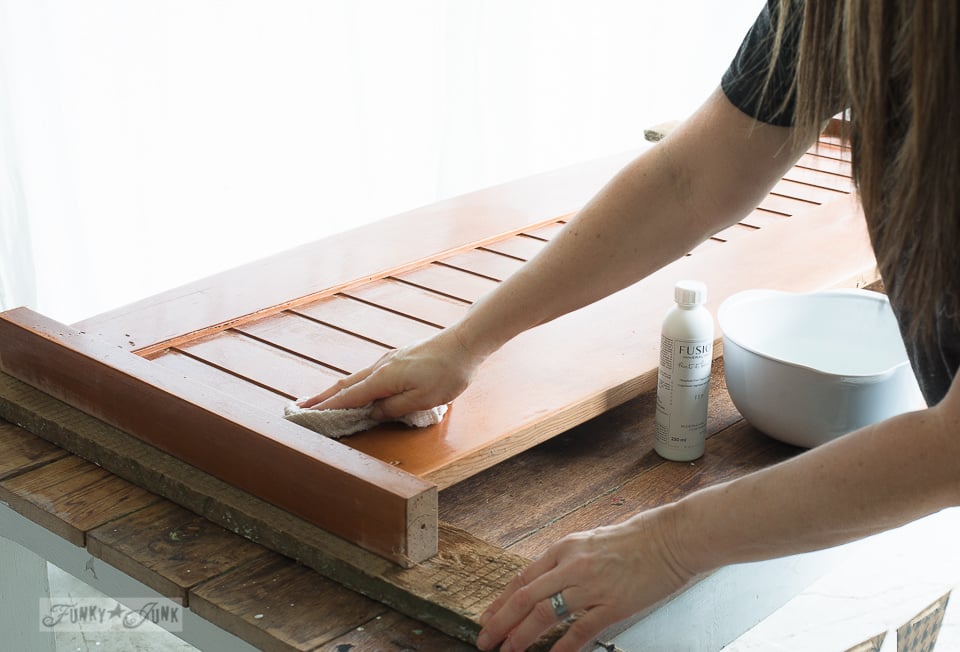
About Fusion’s Phosphate-free TSP
- non toxic and safe to use
- highly concentrated – mix with water
- no need to rinse off
There are many cleaners on the market that work, but many are toxic, require rinsing and some can even repel furniture paint.
You can avoid all that confusion if you use Fusion’s non-toxic TSP, because it is made for this paint!
It’s completely phosphate-free, non-toxic and requires no rinsing. It removes any dust or grease, and is especially awesome used with a scrubby on kitchen cabinets before painting.
I like to use it because then I know for a fact I’ve done everything I can to make my project ready to accept paint without any potential issues.
How to use Fusion’s TSP:
- Dilute TSP with water in a bowl as directed.
- Clean project using a soft cloth.
- Mo need to rinse off.
- Allow surface to dry, then paint.
Get 10% off Phosphate-free TSP HERE
About Fusion’s Hemp Oil
Hemp Oil is quite frankly a must-stock! It is a food-safe oil that has a pleasant, nutty fragrance.
I love to use it to enhance old metal, add lustre to painted pieces, as well as for wet sanding, to achieve a buttery smooth finish on painted surfaces.
But I guarantee, if you have it on hand, you’ll find more uses for it.
- food-safe finishing oil
- excellent for floors or wood countertops
- offers furniture protection
- enhances many surfaces including old wood, metal, leather, boots, etc.
- exceptional to wet-sand with to achieve a buttery smooth finish
- minimizes fingerprints on dark painted surfaces
- will deepen the tone of wood, especially if it’s older
How to use hemp oil:
Hemp Oil is very safe and easy to use. In fact, it’s so safe, you can apply it with your hands if desired! However I like to use a soft cloth myself.
- Pour hemp oil onto your project surface or onto a soft cloth.
- Smooth hemp oil all over your project.
- Allow to sit for a few moments.
- Wipe away all excess.
How to wet sand with hemp oil:
Wet sanding with hemp oil will turn any furniture project into one that feels buttery-smooth to the touch, while adding a lovely satin sheen to the finish.
- Apply hemp oil over dry paint with a cloth.
- Sand with THESE sanding sponges or THESE sanding pads.
- Wipe away dust and excess.
- Buff surface.
View: Industrial shipping crate stamped shelving tutorial HERE / Stencil HERE
Hemp oiled projects:
Industrial shipping crate stamped shelving
Lamp makeover with grain sack lamp shade
Visit all hemp oiled projects HERE
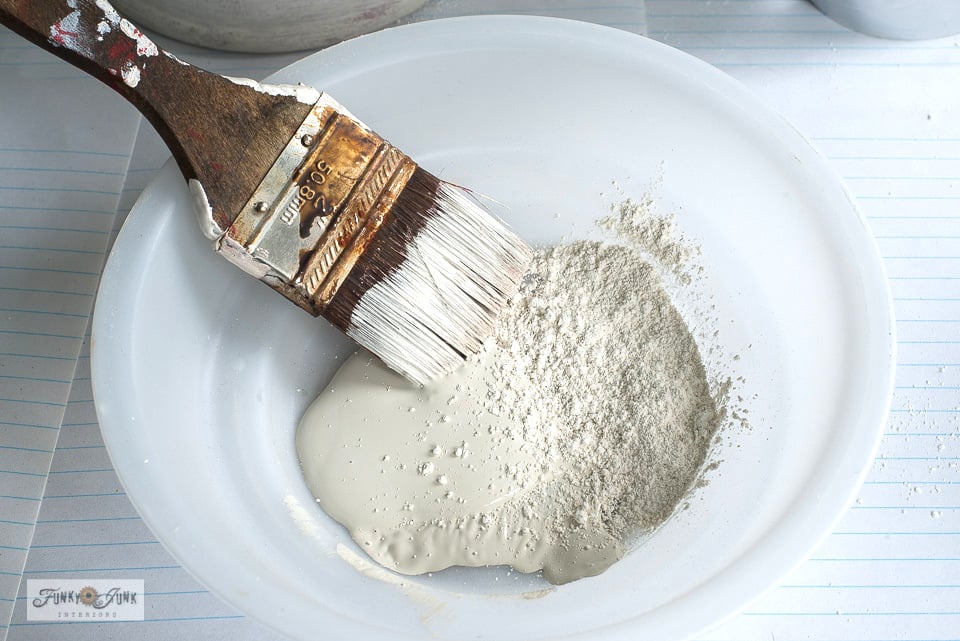
About Fresco Texturizing Powder
Fresco is a texturizing powder that adds dimension and age to your smooth projects! So if you like an old world or concrete look, you’ll love using this.
- texturizing powder can be added to any paint color
- takes on the paint tone it’s mixed with
- creates texture
- excellent coverage
- indoor and outdoor durable
How to use Fresco:
- Pour some paint into a container, and add a little Fresco.
- Mix together.
- Paint project with the thickened mixture for different effects.
- Once dry, repaint and /or stencil over project if desired.
View: Vintage crock Pot planters tutorial HERE / Stencils HERE
Fresco projects:
DIY Vintage Crock Pot planters
Grain sack striped faux cement pot with topiary
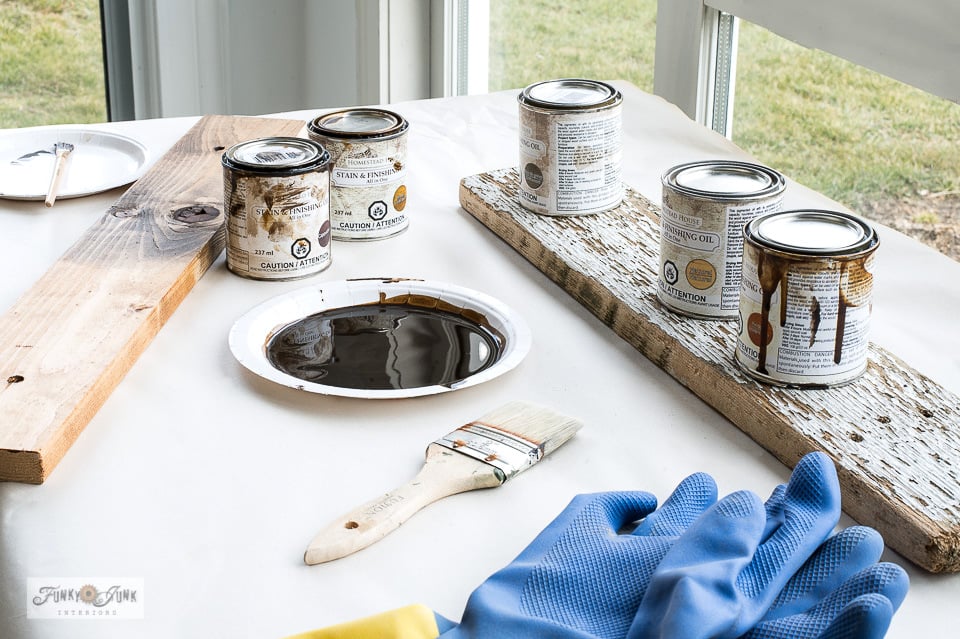
10% off Fusion’s Stain and Finishing Oil HERE
About Fusion’s Stain and Finishing Oil (SFO)
I resist using most stains on the market, because the smell is so strong, I need to use it outside and leave it outdoors for at least a week before I will bring it in.
But not so with Fusion’s All-In-One Stain and Finishing Oil! This is a low fragrance wipe on / wipe off product that includes a colour and durable topcoat that I use indoors! Then bring my project into use inside my home the very next day without issue.
- all-in-one top coat, tone and primer.
- easy wipe on / wipe off
- low odor, can use indoors
- can mix to create your own tones
- dries overnight
- floor-quality finish
- enhances and protects wood and painted surface
- distress painted projects
View: Wood pumpkin tutorial HERE / Stencil HERE
How to use Stain and Finishing Oil:
- Stir the Stain and Finishing Oil well.
- Pour into a container.
- Wipe on project with a cloth or chip brush.
- Wait a few moments for the stain colour to set.
- Remove excess with a clean cloth.
- Allow to dry overnight.
- Add more coats for added sheen, to deepen the tone or add more durability.
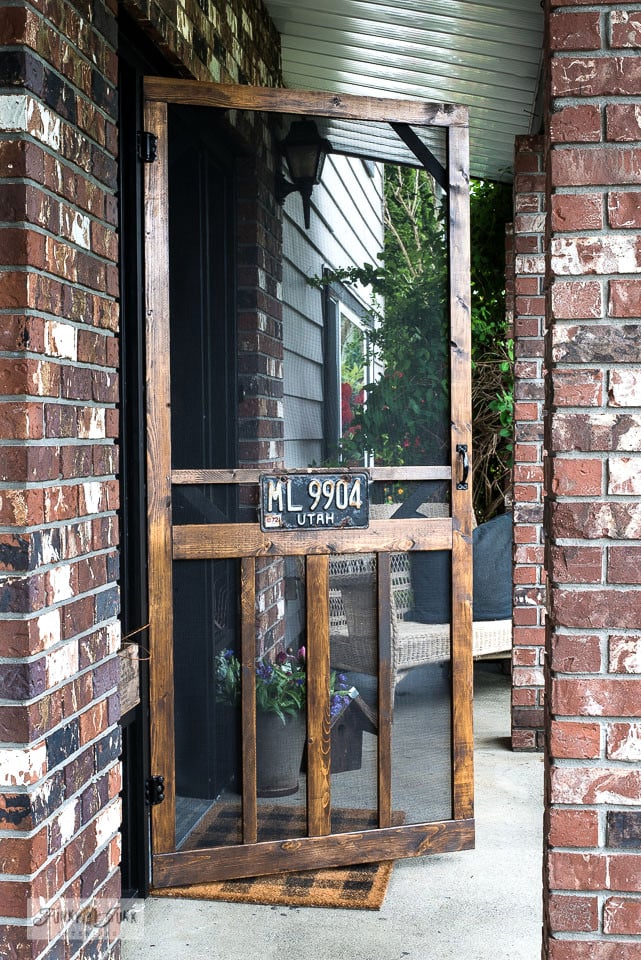
How to build a wood DIY screen door from scratch
Stain and Finishing Oil Projects
Rustic Ikea trestle desk or sewing table
Turn a new Ikea storage shelf into a rustic farmhouse beauty!
How to build a wood DIY screen door from scratch
Get 10% off Stain and Finishing Oil HERE
About Milk Paint
Painting a project with milk paint is unlike anything else! It’s so easy to work with and you can achieve different effects with it!
There are two milk paint lines to choose from. They are both made from the same formula, however are offered in different colours.
Homestead House Milk Paint – fresh and traditional tones that stand the lifetime test!
Milk Paint by Fusion – includes vibrant, fresh contemporary colours!
Read my full review of Milk Paint by Fusion HERE
- Superior indoor / outdoor DIY paint
- Zero brush strokes due to no resin in the paint
- Matte finish – requires top coat for sheen
- Soaks into raw wood so it will never chip off
- Easy to distress
- New or chippy finishes
- Use it on wood, floors, fabric, metal
How to mix Milk Paint
Milk Paint comes in a very easy-to-mix powder form, which stores for a lifetime! Simply mix just what you need, then paint.
- Pour milk paint powder into a small cup LIKE THIS.
- Mix 1 part powder to 1 part water.
- Stir by using THIS SMALL WHISK.
- Allow to sit for a few moments so all the powder dissolves and the paint thickens.
- Stir, then paint!
- Give the paint a stir each time you dip your brush to keep it well-mixed.
- Once paint is dry, lightly sand with a high grit sandpaper.
- If desired, add a top coat to enhance the tone or add for further protection.
Top coat options:
View: Penny Tile TV tray tutorial HERE / Penny Tile stencil HERE
Milk Paint projects:
Wood outdoor tray with garden label handles
Upcycled DIY stenciled penny tile TV tray
Wood round Christmas sweater ornament
Scrap wood Christmas trees in presents
Stained and stenciled cardboard banner and dollar store revamps
View all milk paint projects HERE
Milk Paint Starter Kit
New to Milk Paint?
Start with this fabulous Milk Paint Starter Kit HERE!
It gets you everything you need, including choosing your own colors!
Get 10% off all Milk Paint starter kit HERE
So have I inspired you to paint everything in sight? Pick up a few basic paint supplies, start with a small project, then work all the way up to painting your kitchen cabinets if desired!
And there are so many other fabulous Fusion products I haven’t even mentioned yet! Visit Fusion’s website HERE to check EVERYTHING out!
I truly hope this post helps build your confidence to giving Fusion Mineral Paint a go!
Do you have any questions I can answer? Let me know in comments!
Staalmeester paint brushes are not included with this discount.
Fusion’s website sells and offers this discount to anyone in North America.