Screens need replacing? Learn everything you need to know about DIY window screen repair, so your screens look brand new once again! Easy and inexpensive!
Once upon a time, I purchased a travel trailer from a friend. Included in the deal were lots of new-to-me supplies. I certainly had a learning curve in front of me!
Also included were window screen repair tools. I had never replaced a window screen before, however it felt smart to stock it anyway!
Being fortunate enough to not have to need these supplies the entire time I owned the trailer, I never had the chance to play with them. But I kept the tools just in case.
Years later, I stared at two house window screens that were damaged and thought… “I think I have a window screen kit to actually fix this!”
The old window screens had pulls and tears, and looked so tired and dirty. The day couldn’t come soon enough to replace them so they looked fresh and brand new again to let that fresh air back without an insightly patch and such.
I mean, how hard could it be for a DIY window screen repair? I was about to find out.
After much digging (and purging to find it again), I found I had everything I needed to replace one screen. So I couldn’t wait to start!
And know what? Fixing window screens was way easier than I could have imagined. So easy in fact that I kicked myself for staring through torn screens for years while I could have had this fixed in a short afternoon!
How to know when screens need replacing
- unsightly pulls or puckers
- tears
- weathered and worn from the heat
- don’t disappear from sight, but rather, draw your attention
Screens can get weathered from the sun’s heat, pet claw pulls or punctures. They can also fade and covered with dirt so they don’t look their best.
A DIY window screen repair is easy to replace and very affordable, making your windows look so much fresher and your outdoor views much brighter, not to mention, keeping small insects and bugs outdoors where they belong!
I’ve since fixed and DIYed many more screens after this installation, I now know first hand, try this once, and you’ll be a screen fixin’ machine yourself!
You do not need to spend big dollars nor call professionals for custom screens this round. This is a low cost DIY any homeowners can easily do.
Ready for a much prettier view outdoors? You will be after you try fixing a few screens of your own, using the best material you can actually choose, at a super affordable price!
This post contains some affiliate links in which I earn a small percentage from qualifying purchases through these links, at no extra cost to you. Thank-you for helping to support my blog!
DIY replacement window screens with frames
This tutorial shares how to replace window screen material from existing metal window frames in good shape.
All the same steps also apply to assembled sliding patio screens or porch screens too, just on a larger scale.
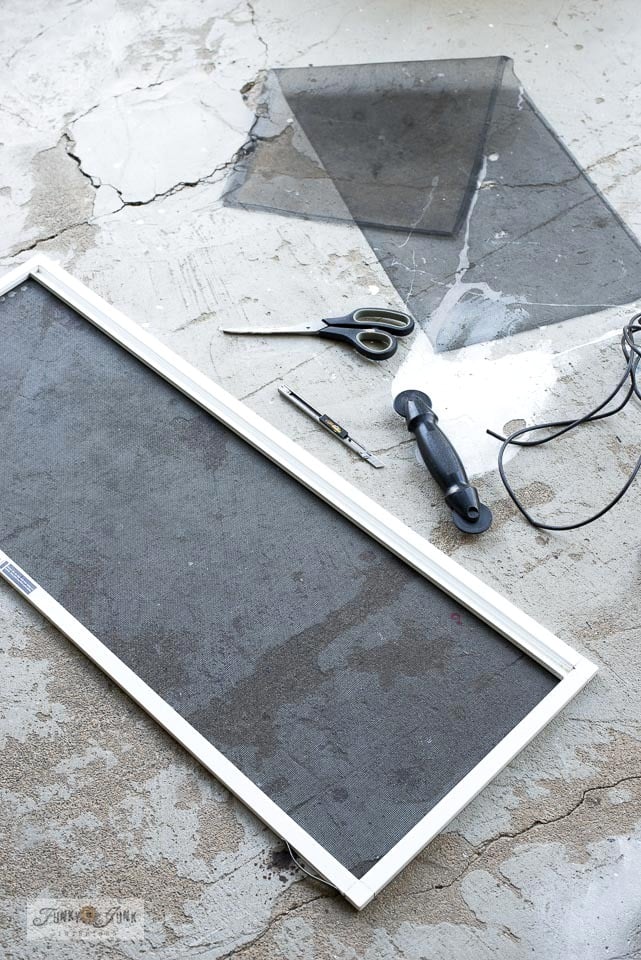
Supplies you’ll need
You can purchase a full window screen kit HERE, or supplies separately through an online store or a local checkout such as Home Depot.
Here’s what you’ll need for a window screen repair:
New window screen replacement material (there are various types on the market)
Window screen frame (IF yours needs replacing)
Spline (a foam rope type thing)
Need new screen frames too?
Need new aluminum window frames too?
Screen frames bend very easily if you remove them enough times, so if you feel a full replacement is in order, you can also order and build the frames too.
I’ve yet to try this route but I’d give it a try at least once if I needed to.
Removing the spline
1. Place the damaged screen on a flat work surface. Remove the old spline to release the old screen.
A screen spline is a long foamy rope thing that holds the screen in place. Since it isn’t glued in, it’s effortless to remove.
Find where the spline starts and stops, dig into the corner with a screwdriver, and pull it out.
You can reuse the old spline if it’s in good shape, or replace it with a new spline if it isn’t.
How to purchase window screens
- bulk rolls
- pre-cut patches in standard sizes
- in complete window screen kits
There’s a wide variety of products and ways to purchase window screens.
Window screen kits will likely be a little more price efficient and offer more convenience if you don’t have any of the basic window screen requirements already. Purchase once, and get everything you need.
However, most window screen pieces are very price efficient, so it isn’t hard to gather up just what you need. You may even land a higher quality screen roller if you purchase it separately.
I vote to decide which way to go by the size of the screen needed. Make sure the screen kit has the desired screen size you require or it’s a deal breaker. Then just purchase the pieces separately.
You can also purchase window screen kits with aluminum frames if needed. I haven’t done this myself so I can’t say how they’d ultimately fit.
Window screen parts
Spline (a foam rope type thing)
Window screen replacement material on a bulk roll
Check out FULL window screen kits HERE
Different kinds of window screens
- aluminum screen mesh
- metal screens
- fiberglass mesh (most price efficient and considered standard)
- pet screening (heavier and higher quality to be claw-resistant)
- extra fine window screen
- patio screen repair kits
There are many different kinds of screens for window screen repairs as well. So depending on your own needs, you get to decide. The fancier and higher quality the screen, the higher the price.
Having a better understanding of the types of screens available will also help you decide which screen suits your home best.
For example, my cats kept climbing my standard screen door. After I built my own screen door and tried pet screen, my cats no longer climbed it, and when they tried, they didn’t like it! Money very well spent!
There’s aluminum screen mesh, fiberglass mesh, pet screen, extra fine, and more. For this window in particular, I just went with the standard and most price-efficient fibreglass screen for my needs.
HERE is an excellent website that explains the different screen types and what each type of screen is best suited for.
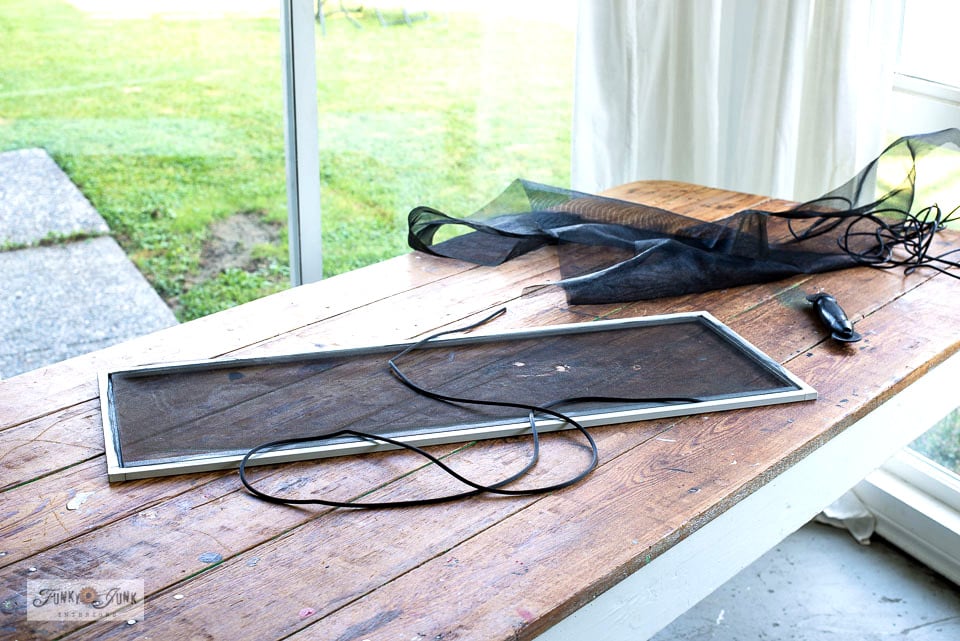
Replacing the screen
2. Position new screen over frame, ensuring the screen material covers beyond the full length and width of the screen frame.
You don’t need a super accurate measurement. I simply positioned the new screen on top, then cut the screen to the rough desired shape with scissors.
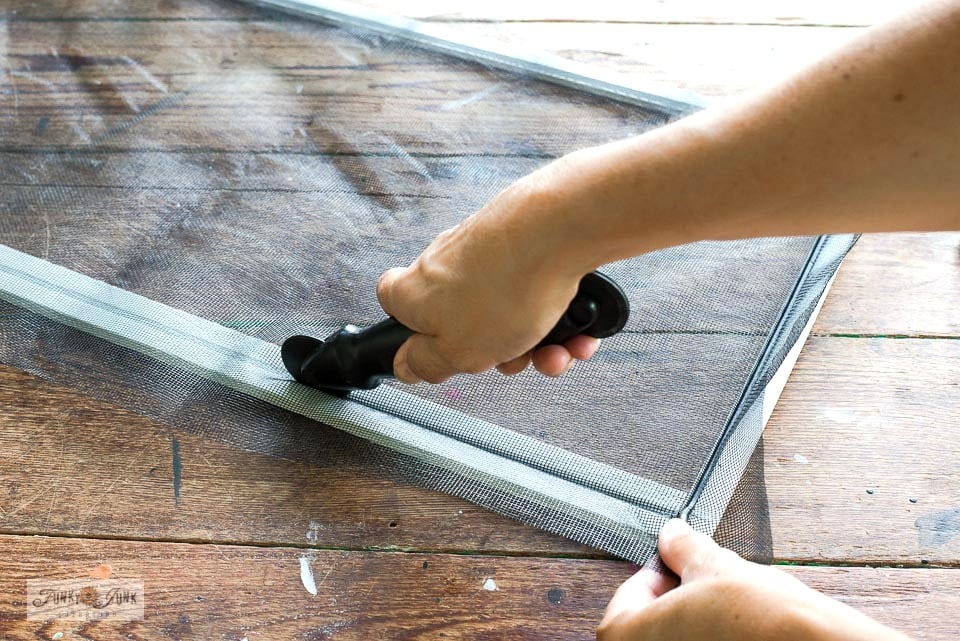
3. Holding the screen in place, insert the screen roller into one window frame groove with the sharp (convex) side, and roll the screen roller tool to create a crease in the screen.
4. Position the spline along the the groove, then push it down into the groove using the grooves (concave) side of the screen roller.
5. Complete one side at a time, ensuring the screen is aligned and taut as you work, but not so tight that you bend the frame out of shape.
This takes a little practice. One time I had my screen so tight, the entire screen frame twisted on me! No problem. Remove the spline and screen and start over again. I nailed it the second time after I figured out what I did wrong the first time. You get to make some mistakes and corrections this round.
Trimming the screen
6. Trim excess screen by running a utility knife blade against the window screen’s frame along the outer edge of the spline.
Window screen mesh is very thin and easy to cut.
The replaced screen
Then be absolutely positively amazed that your vinyl windows looks brand new and you did this yourself!
The newly screened window
Is there anything better than DIY replacement window screens?! I think not! The view just got a whole lot better outside and your entire window will appear fresh and brand new again!
You will also know you did a great job if you can’t see the screen. And all it took you was just a few minutes!
Welcome to the new world of calling yourself a screen repair expert… because you will be after you do a couple.
But as luck would have it, if you have quite a few window screens to replace, or aluminum frames are needed, you can always call up a professional screen repair services place and get a quote. They of course really know their business and sometimes it’s nice not to have to wade through all the challenges if getting it done professionally is in your budget.
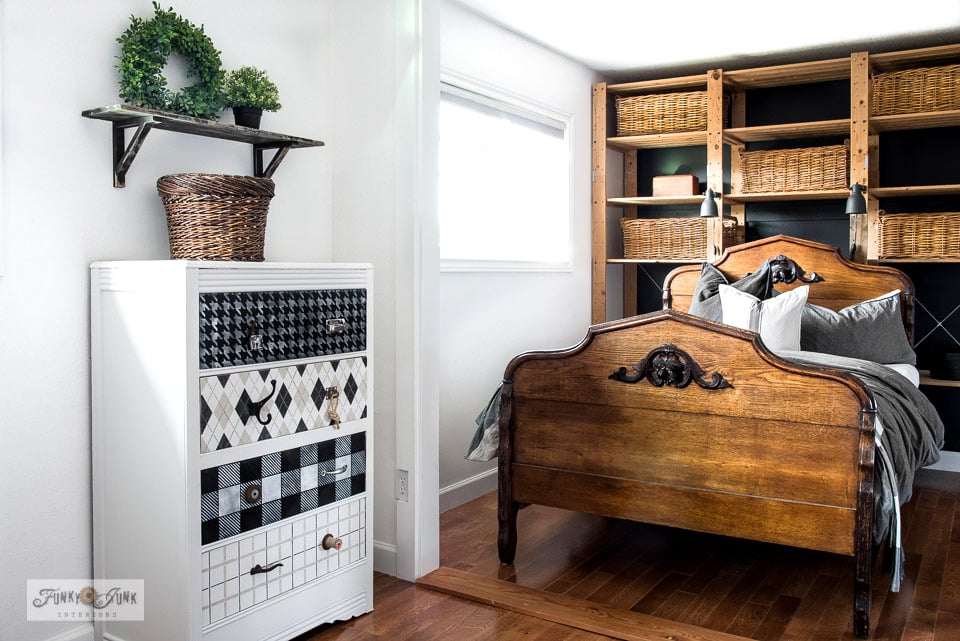
View entire guest bedroom HERE
See painted dresser tutorial HERE
Visit antique bed and basket wall reveal HERE
But I’m personally glad I went for it. Now I can replace any I wish!
I immediately placed this screen in the guest room window and it looks as good as new too! LONG overdue.
Which led to other amazing screen projects also long overdue…
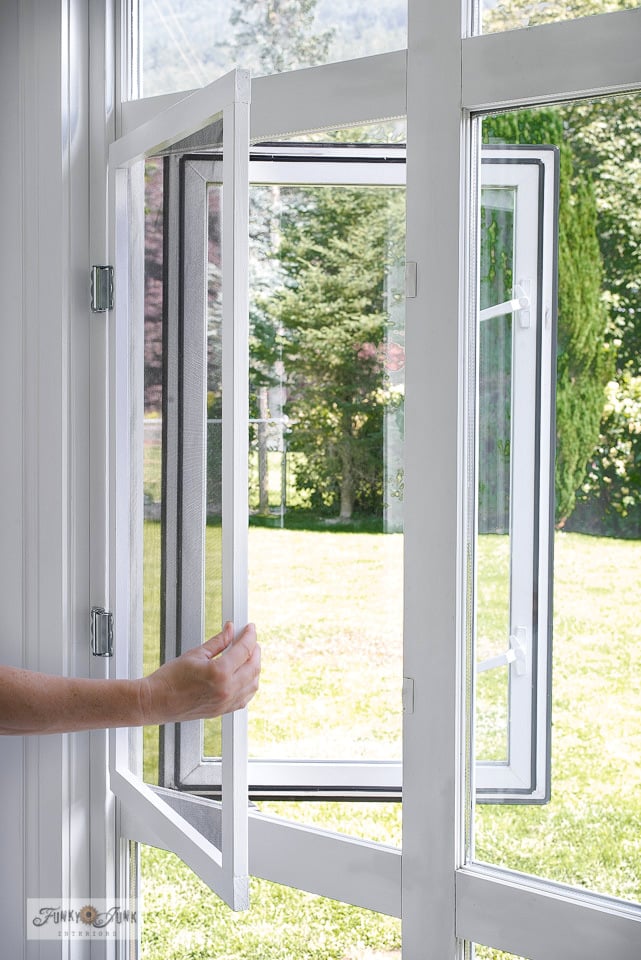
I also wished to screen this two-handled window in my photo studio.
After this DIY replacement window screens tutorial, I felt confident to tackle this tricky window screen as well, frame and all!
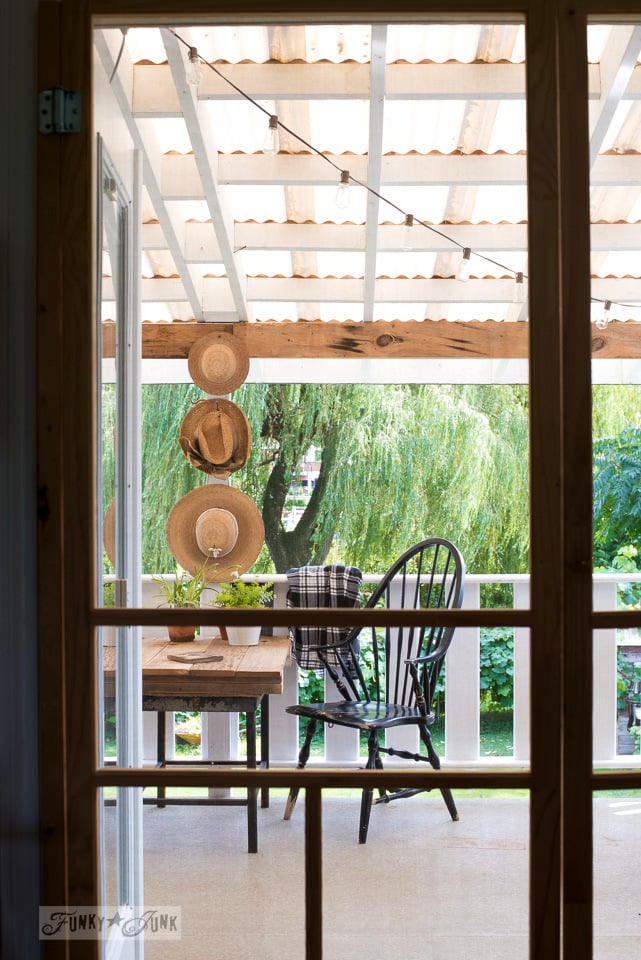
DIY wood window screen
So I created a wood framed screen on screen door hinges HERE that worked out beautifully!
How pro am I?
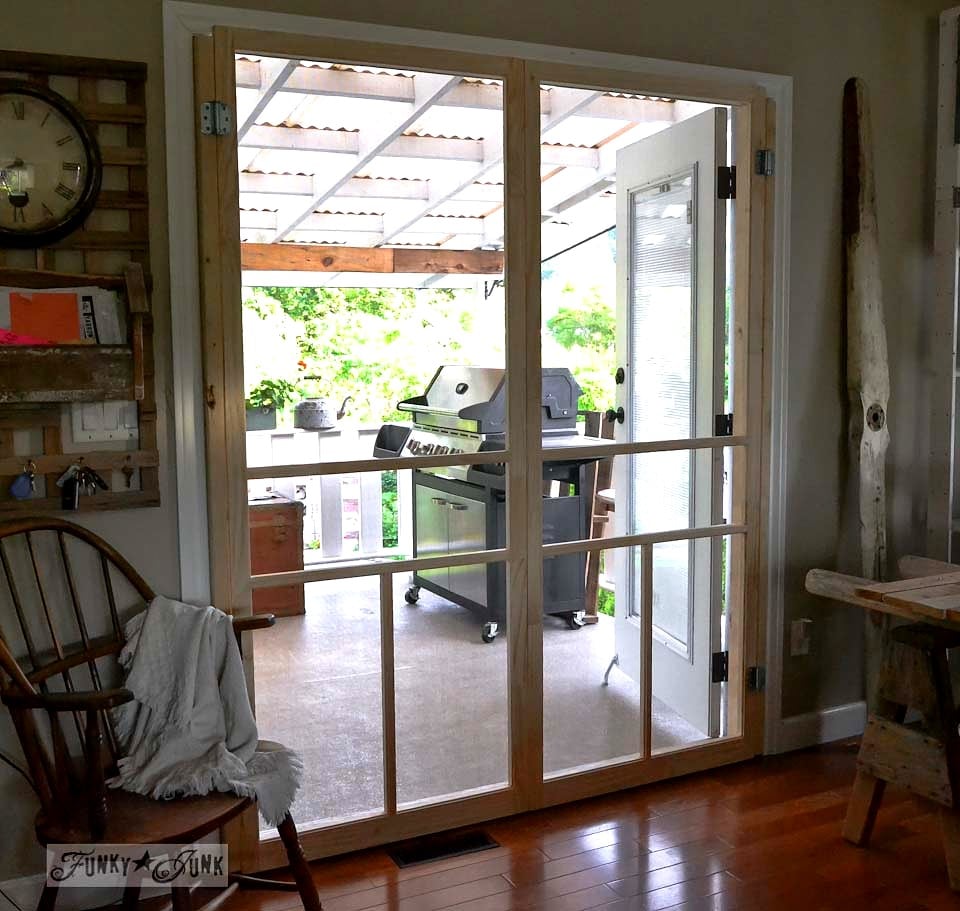
French door screens
And I plan to revamp my DIY screen doors on the french doors upstairs… knowing I now can!
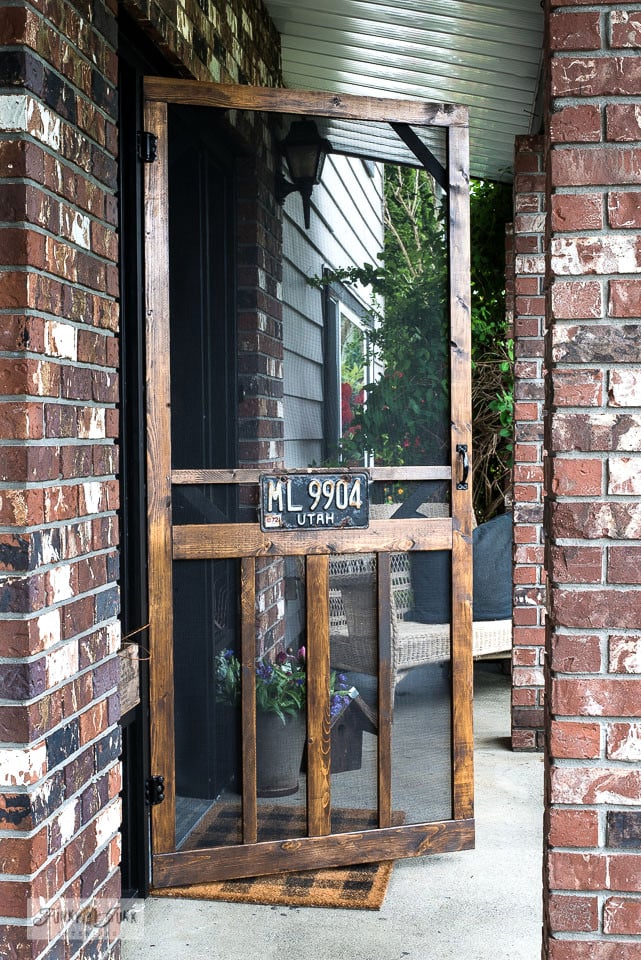
But this time, with the anti-pet climbing screen like I did on my front door screen door HERE so they can’t ruin it!
Look out windows, I’m coming for all of you now!
Have you changed out your window screens? Think you’ll try?
Other screen projects to DIY yourself:
How to screen french doors for cheap!
Build a DIY screen door from scratch – featuring pet screen!
Visit all screen projects HERE
View Comments (11)
Nope, I've never tried that and the screens down at our holiday home are looking rather tatty at the moment and with summer around the corner, I'm going to have to make a plan else the mozzies will carry us away :D Thanks for the tut Donna, I didn't realize it was so easy. Now I just need to see if our hardware store stocks some of the anti-pet climbing ones, else our fur babies are going to have a field day
I'm so glad you'll be tackling this Michelle! I too wish to check out the anti-pet ones... hopefully they aren't too cost prohibitive!
Donna,
You never cease to amaze me at all you can do!
I just had a new screen door installed on the beach house and told the contractor I might need new window screens soon. After seeing what you just did, think I might be able to tackle the job.
Thank you for the excellent directions and good luck on the rest of your screen replacement(s).
Hey Nancy, glad you were encouraged! If the frames are in good shape, changing out the screen part is dead easy!
If frames are busted up, that's a different story. But the frame kits look so simple too!
You might want to get a quote on all new anyway so you can justify your efforts. :D
I am SO there! I have several screens that I've tried to ignore for years. I can't wait to try to fix them!
Oh Julie, you are going to scold yourself for the delay after you see how beautiful the replacement looks... because it's that easy to do. I shake my head as I stared at actual holes for YEARS. LOL
This post was just in the nick of time. Just finished washing all the house windows and screens yesterday. One screen fell apart and needs replacing. I read the link to different screens and wondered if you or any of your readers have used the pet resistant screen? I have an indoor cat that likes to claw at the screens. Thanks for the post.
Glad to hear you may be trying to fix yourself Ramona! Totally worth the effort.
I have not yet tried the pet resistant type. I'm going to price it out and attempt to look through it to decide... I may just stay with traditional fibreglass as it's so price efficient making it cheap to replace down the road. I'll update this post once I've checked it out!
I just replaced three screens. And it too had been a looooonnnngggg time coming. Our sweet cat always hung on the screens so that we would let him in, rather than just scratching on the door like a normal pet. Every screen has some damage and I refused to replace them as long as he was alive. But now he is 13 and too mature to be so naughty any more so I replaced the three worst ones, now to do the rest of the house!! Thanks for motivating me to finish.
Oh awesome! I'm glad this post inspired you to go for it! It's especially cost effective if you change them out yourself for certain!
So cool!! I actually did tackle old screens in my little vintage trailer this past summer. Was amazed that I did it fairly easily all by myself! I think I should have pulled it a bit tighter though. Appreciate your instructions to confirm I followed the correct steps! I think I now have to do 2 bigger ones in my living room that my cats have damaged...lol